Exercise 3.1 – Query and Load Data
Query Against National Database
Open the queries tab in the table of contents on the left side of the NASIS client. Expand the NSSC Pangaea folder by clicking the right facing triangle to the left of the folder icon and locate and select the query named “Area/Legend by areasymbol”. Run the query against the national database by either right clicking and selecting the option available in the context menu or use the button on the toolbar.
Why is it important to run against the national database first? Write your answer down and keep it to send to your mentor.
In this particular query, by default the target table legend is selected, and cannot be changed. All objects are also already selected by default in this case. Leave them checked. Area Type Name and Area Symbol are blank and need information entered in order for the query to run.
Click the Run button now to see what happens when you try and run it without entering any information. What do you notice?
Now fill in the query. Use Area Type Name: Test and use Area Symbol: Test
After running a query against the national database, you will see the local database view. This is where we can manage the data we have stored locally. If you have already used NASIS before the training and loaded data into your local database, you may already see data here. Notice each object in NASIS has its own tab. You can click the tabs to explore the local database data.
How many legends were found using your query? How many sites? Where can you find this information?
Accept the Data into your Local Database
If you have a significant amount of data in your local database already, you might want to clear your local database for this course. To do this select the “Clear Local Database” button. If you do, you will need to run the previous query again. On the legend tab select the rows with the Rec ID = 129780, 14033 and 133576. Notice you can use sorting and the auto filter row in this view but not the filter editor.
After selecting the rows click the “Exclude” button. What do you see different in the “Location” column?
You can use the Exclude or Include buttons to further refine the results of future queries to customize the data that will go into your local database. For now, continue to exclude the records mentioned above and click the “Accept” button. This action downloads the national data into your local database.
Query Against the Local Database
In order to fully explore and edit data you need to query your local data and put it in your selected set. Do this by highlighting the same query used previously and this time select “Run Against Local Database”.
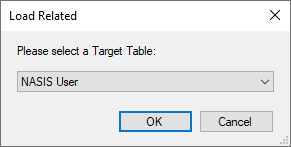
Notice the slight difference from when you ran the query against the national database. We are only shown a list of target tables. The query description can provide additional information, in this case you can see it indicates you should set the target tables to Area and Legend when running the query locally. Select them now above. Now enter the same information as you used previously and run the query.
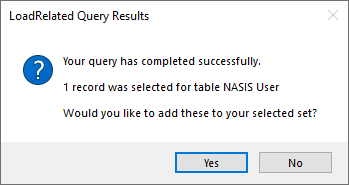
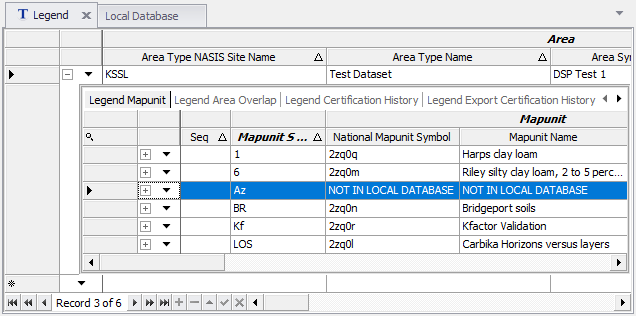
How many records were selected for the legend table this time? The Results window that appears will tell you and ask you to confirm if you would like to add these to your selected set. Click yes. Now open your Legend table to view the legend data added to your selected set.
Submit Screenshot
Submit the screenshot of the data in the legend table and the answer to the questions above and placing them in your exercise submission folder to complete the exercise.
End of Exercise

